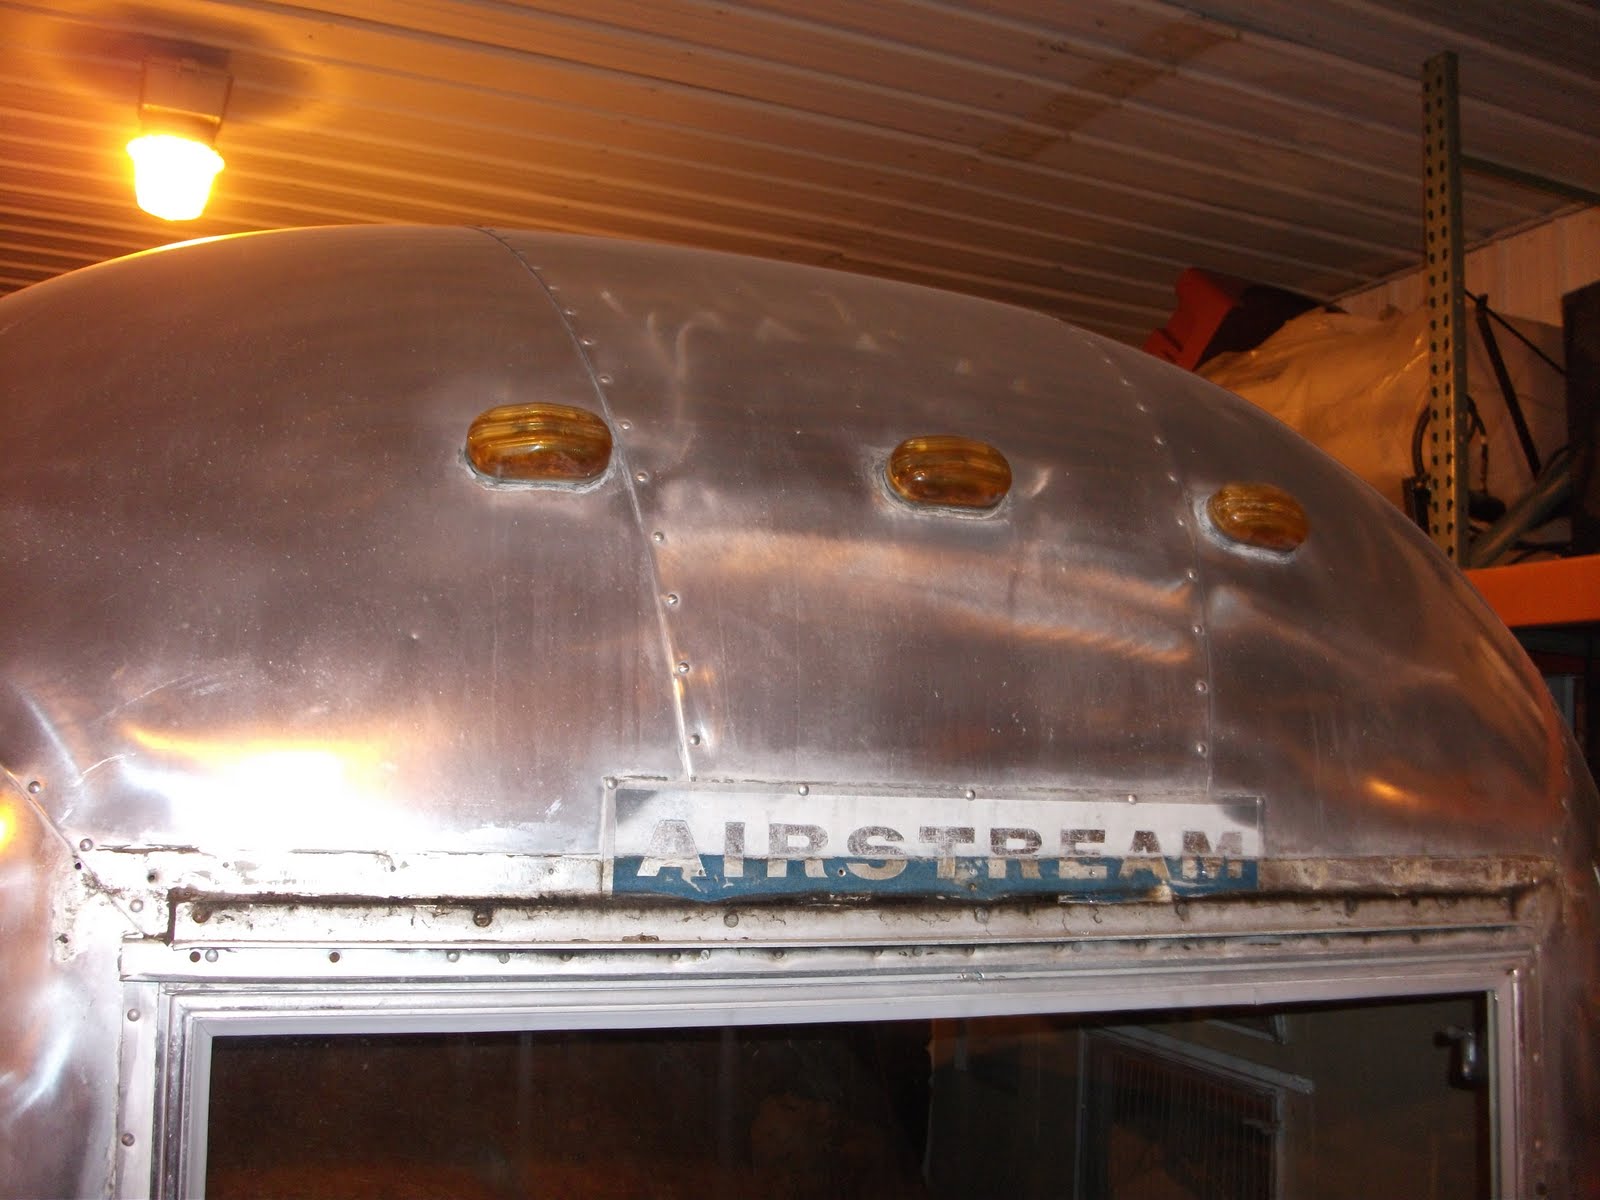
 I have not been spending as much time on May, at the same time that I have been buck riveting on weekends on Buddy Brad's Holly. This has actually been a blessing, as I have much going on in my life right now, so it has been great to just "show up and buck!" You can see the incredible work Brad has been doing by following his "I found the leak" posting here. Brad made sure I gave May her due this past Sunday, and we made some progress on the interior. Before I cover that, the picture above shows the new Airstream Nameplate, and the new Running Lights with the custom bezels are now bucked and fully installed on the rear. I am working on the front and it will also get all new running lights and new nameplate.
 This past Sunday Brad and I dropped the interior ceiling aluminum, and then I removed the old insulation. Note the insulation is still in this picture just before removal.
 The ceiling all taped and removed from the trailer. We took out the front window, and pulled out the ceiling. In this manner I can now have the ceiling stored underneath the trailer.
 I shot looking rearward; ceiling is out, insulation is removed. Next up for removal is the front end cap, and the lower interior panels. I will soon have all of the old mice infested insulation out of the trailer! Then on the wiring, and new insulation. The main reason for getting the entire interior out is so I can buck rivet all the new items and fixes that I am doing to the exterior.
Repeat; another shot of the exterior rear that is completed.
 Me testing new running lights.
 Rear view of the lights test before we bucked them in.
 Buddy Brad's Holly. He built 11 brand new segments, and the lower panel was 12' long, wrapping both sides of the front. He is doing incredible work. Bucking these in place has been a blast. You can tell he is in the Trades, look at the great scaffolding he had all set-up for me to work from. Turns out I run the bucking gun, Brad runs the bucking bar. We have a pretty good communications system worked out, and 98% of the rivets look great. We won't talk about the other 2%!
Holly (Left) and May in the shop we are renting this winter. Obviously this is before he refit Holly with new end cap segments. It gives yo a true sense of how much work Brad has done, and great work at that.

A shot of the front window and the mess I have to work with before it looks like the pictures of the rear end cap above.

Rear cleco'd but not yet bucked.
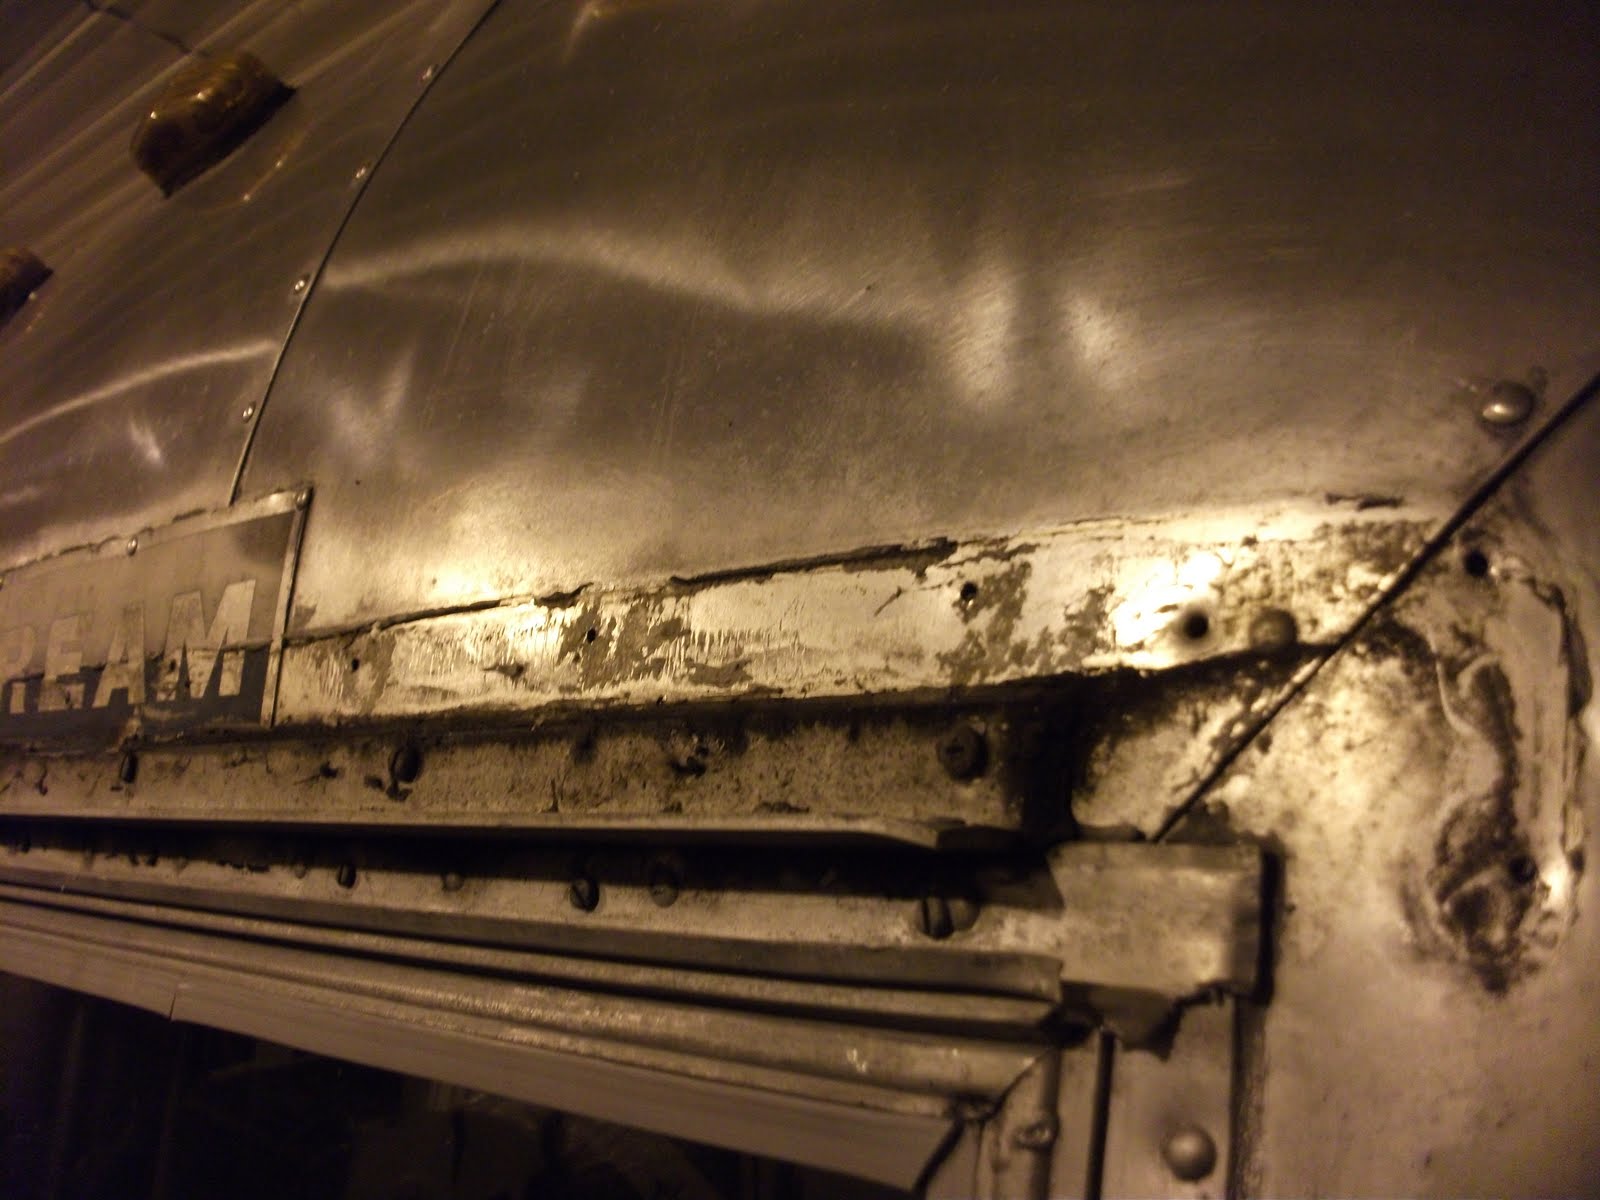
The PO messy window leak fix. We will fix it right this time, with no drip cap, and without the slag of Vulkem.
 Note the drip cap ran right through the old nameplate. You can tell which half was in the sun and which half was not.
Until next time!
Tim, Love the work you've done to this trailer. Which LED tail lights did you go with? I love that pattern... and want to install them on some new Bargman 99's...
ReplyDeleteYou'll want to contact Inland RV. Tell them the year lights you are replacing, These are LED's for a bus, a great option for a '64. They are the same diameter as the original wedding cake lights. You'll ground the LED to the trailer skin, and the screw holes line right up with the originals. Very bright, and a great replacement.
ReplyDelete