Note in the picture above the rear LED turn/stop lights installed. I will cover the lighting in a later post. Below is the front window from the inside, new glass installed, new cranks installed, looking in the end like the easy task it was not.
 Here is a closer up view of the new cranks installed from Vintage Trailer. I also installed new nylon guides as well.
 Exterior of the front window, partially open using the new cranks. I installed new custom cut tempered glass (1/8"). Glass RULES over Plexiglas! I am very glad Frank of Frank's Trailer works made a comment to me about glass over Plexi, and I am very happy with the final results.
 This is the inside corner of the front window frame AFTER I had ground out the aluminum weld or slag that ran into the corners where the glass needs to lay flat. You see, I had the window all rebuilt the first time, and during installation, the frame broke apart in one corner. Four letter words still hover in the building where I worked on May this winter! The window frames had been rebuilt and welded at some point by a PO, but the welding was sub par. So back out the window comes, I pulled out all the glazing that was a major b&*$% to get in, and then found a welder. He used the aluminum weld that was already there, but along with getting much better welds into the joints, I ended up with a grinding project. Again, the below is after I ground out the slag, and you can see that I lost some of the corner as a result of the hot weld. I can assure you the frame is now very solid.
 The below is what I started with BEFORE I ground out the corner slag from frames. I used a Dremel and many grinding wheels! I actually think this shot is from the back of the frame, and you can see the strength of the weld. The front window was also bigger than the rear, and I can see and understand the design flaw in the original corner strength of this front window frame.
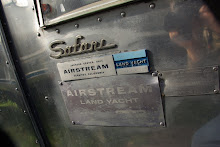
 The below is the rear Airstream Name Plate after I cleaned and re-painted. I learned a trick or two that will make the next one go faster. This is the rear name plate, clecoed and ready to be riveted again.
From polishing the window frames while at my kitchen table, the tools of the trade.

The rear Airstream sign un-installed, as well as the non-factory extra water drip cap. What a vulkum mess!
 The rear and front window frames. Once polished, one not. This is BEFORE I broke the front window frame, so the inside corners on both still look original. Go back again to the frame above that I had to grind after welding, and you'll see that I list some corner material, but no biggy.
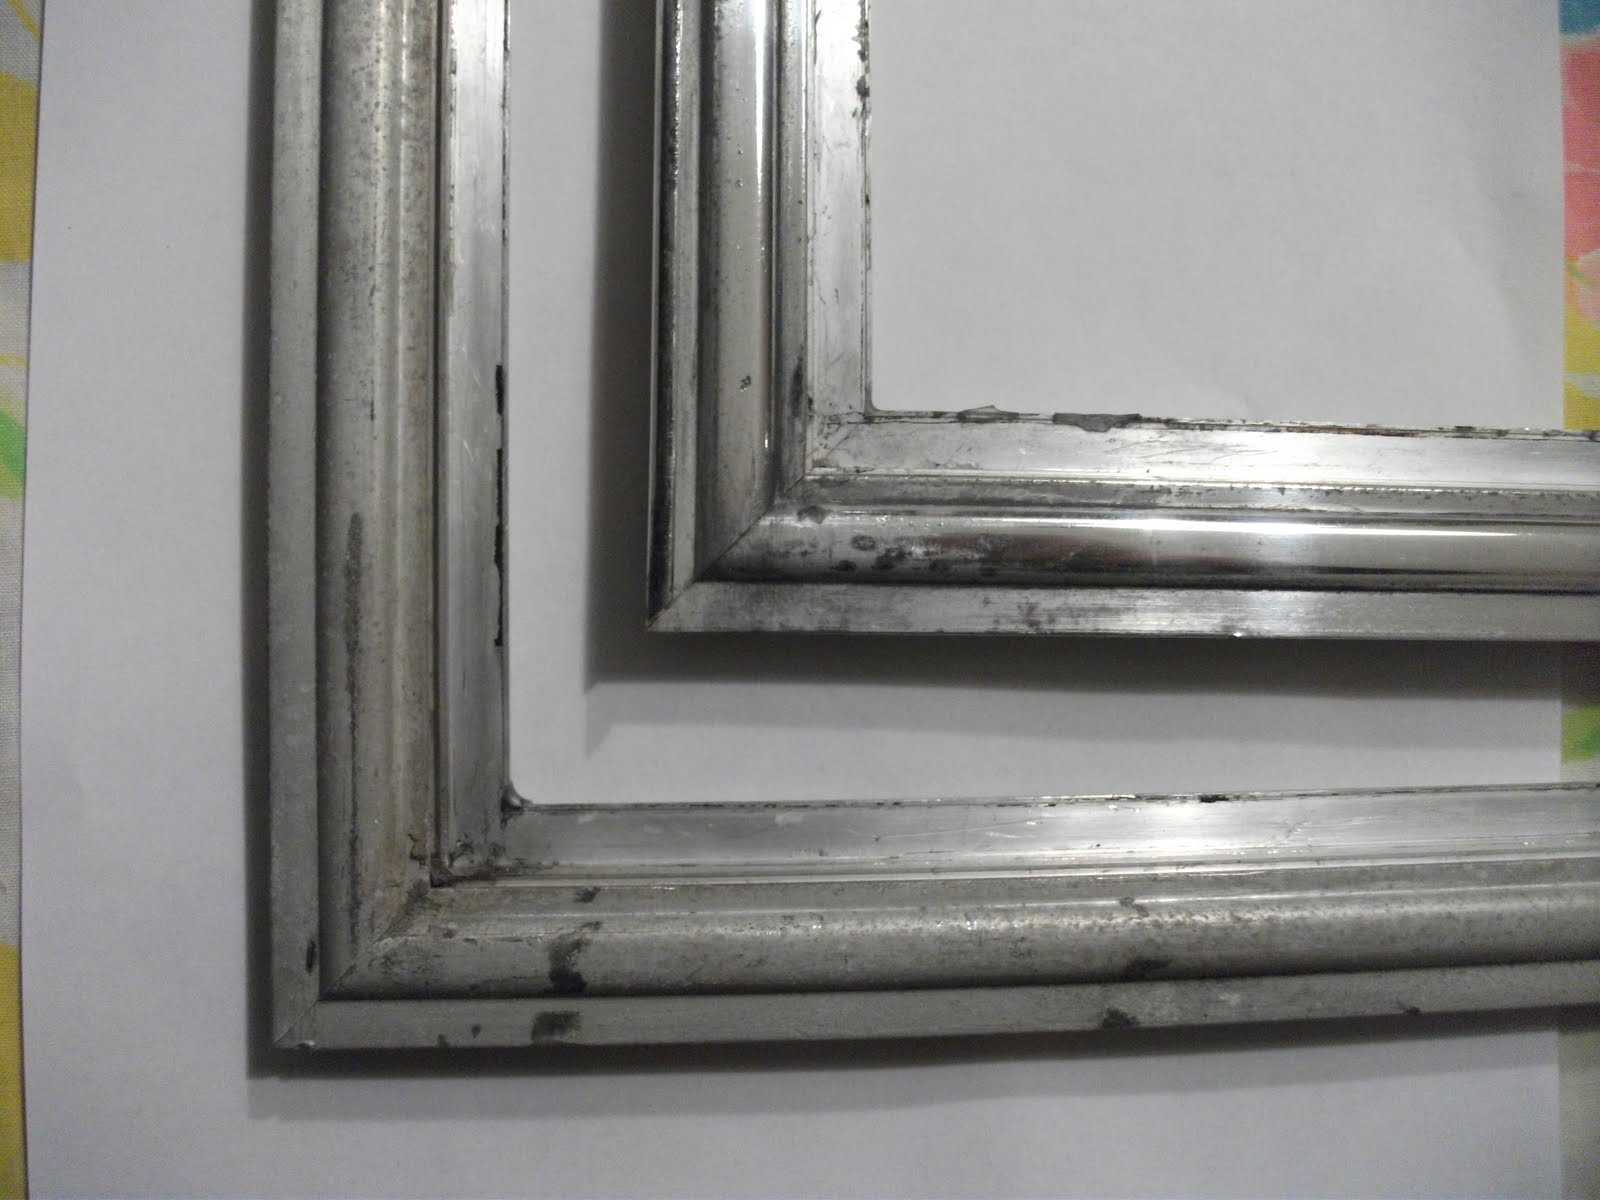
A close up of the rear sign and window BEFORE I did any work on it. Scroll back up to see the alsmost finished results. Hint, it is the picture with the BLUE Airstream Name Plate ;-)

So May will be on the move again to here summer home. Stay tuned for the exterior work that I will be doing the next 6 months. Until next time!