The following are pictures of Brad's and my new shop that we rented on 10/10/11. It is 35' wide by 60' long. Currently we have my 34' Excella 1990 (Big Girl), Brad's 26' Overlander 1957 (Holly) and my 22' Safari 1964 (May) in the shop. The site we rented last winter was closer to home, included heat, and had an industrial sized air compressor. This new shop is still way better for us, including larger space, we are the only tenant's (a huge plus), we are able to modify the interior to our liking (an even bigger plus), and the price is 32% less per month than what we paid for the smaller space last year. We do have to heat this space ourselves, but like last year's shop, electrical is included. The price is so right that we are planning to keep this shop year round, another major plus. And we really like the new landlord too.

Note in the above picture that we (mainly Brad) put Poly up across the entire ceiling. The cement block building is not insulated, but we were comfortable with an outside temps in the teens, and our propane heaters (2) fired up. We hope to be able to work comfortably inside except when the temps get too far below zero. Our landlord also provided the heavy duty shelving, and we are finishing these with recycled wood 2"x6" from Brad's real job.

Above: Holly on right with her new rear door configuration, May in the middle, and Big Girl on the left.

We added the tool hanger (rear left), and since this picture was taken, this four foot run way has become a storage area.

Note the electrical drop (orange end) at eye heigth.

Note to left of the electrical drop the air drop. Brad added Electrical and Air drops in 3-4 locations making it very easy to use power and air tools.

The natural light in this shot is with the 11' plus front door open. The building has the same sized door in the rear so we can drive straight through the building with Big Girl.

The above shot shows Brad adding circuits. We are lucky in that the panel was mostly empty, so we have added for power drops, and one for each air compressor. Coming up will be 30 amp service times two, and then we can run or test anything in the trailers times two trailers.

My first work on May after the building is ready; a brand new trailer tongue lift with wheel.

Note the propane heater working away. We now have two heaters. Not to worry, we have plenty of fresh air entering our space, with cracks in the block walls, and big gaps under the overhead doors.

This shot shows our one window to the outside. To that South Facing window we want to add one facing West for more natural light.

We added Fiberglass insulation around the rear overhead door. My compressor is ready to go in this pic, and Brad has now added his compressor to the mix since then.

Plenty of space to work, and also note the end caps stored in the corner.

Artsy shot #1.

Artsy shot #2

Artsy shot #3 with Ghost Brad.

Last Artsy shot with Ghost Brad in Red. We are basically done getting the building ready, and the trailer contents and tools are now where we need them. All activity will now be focused on the "girls". Until next time!
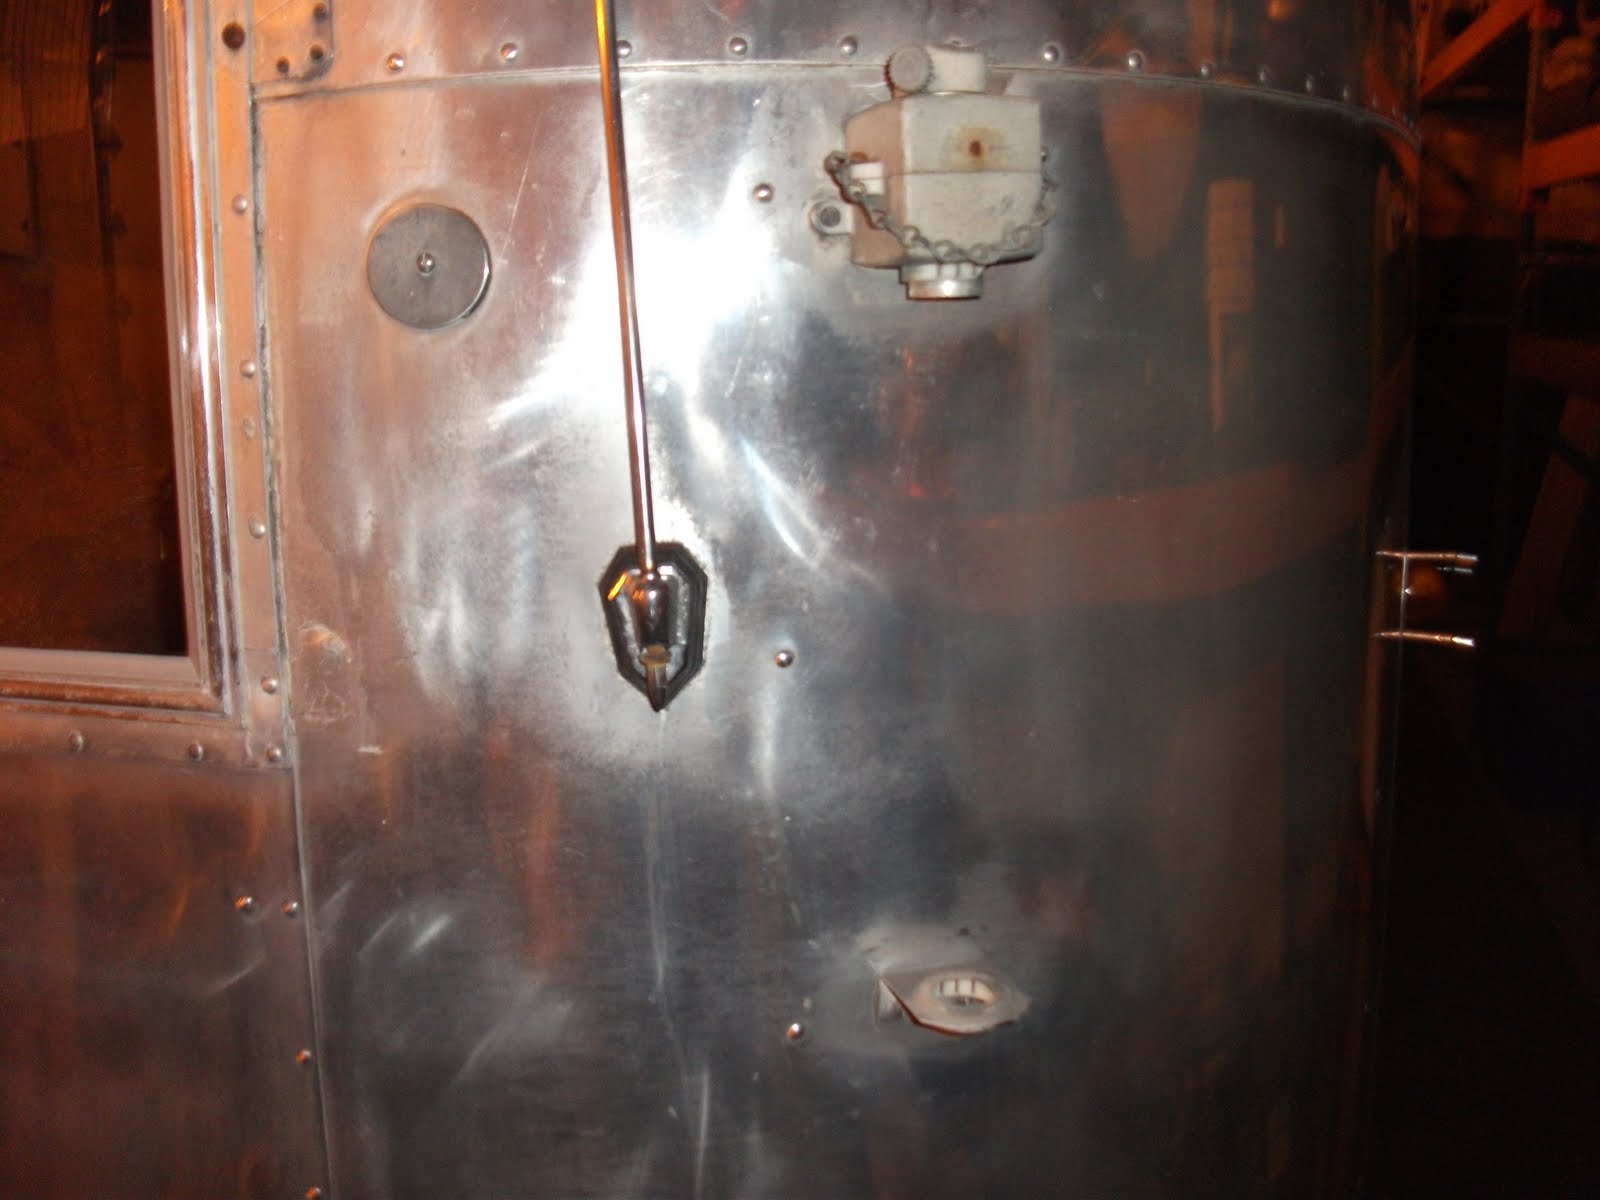 I have begun the process of replacing this panel. The old TV antenna, old Radio antenna, and who knows what other skin holes made replacing this panel a no brainer. That and the dent that is lower down than this picture shows. This panel is street side front.
 First I have to remove the entire rub rail; Curbside to street side.
 I also had to remove the spare tire carrier.
 Removing the spare tire carrier held on with screws.
 Rust marks the spot, or in this case, the cross.
 I also removed the Banana Wrap now exposing the frame and old nasty insulation.
 Now removing the rivets. I will hopefully finish this job next Saturday. I have the new aluminum ready to go, and will be glad to fully replace this panel! Until next time....