Tuesday, December 27, 2011

Time to replace a panel

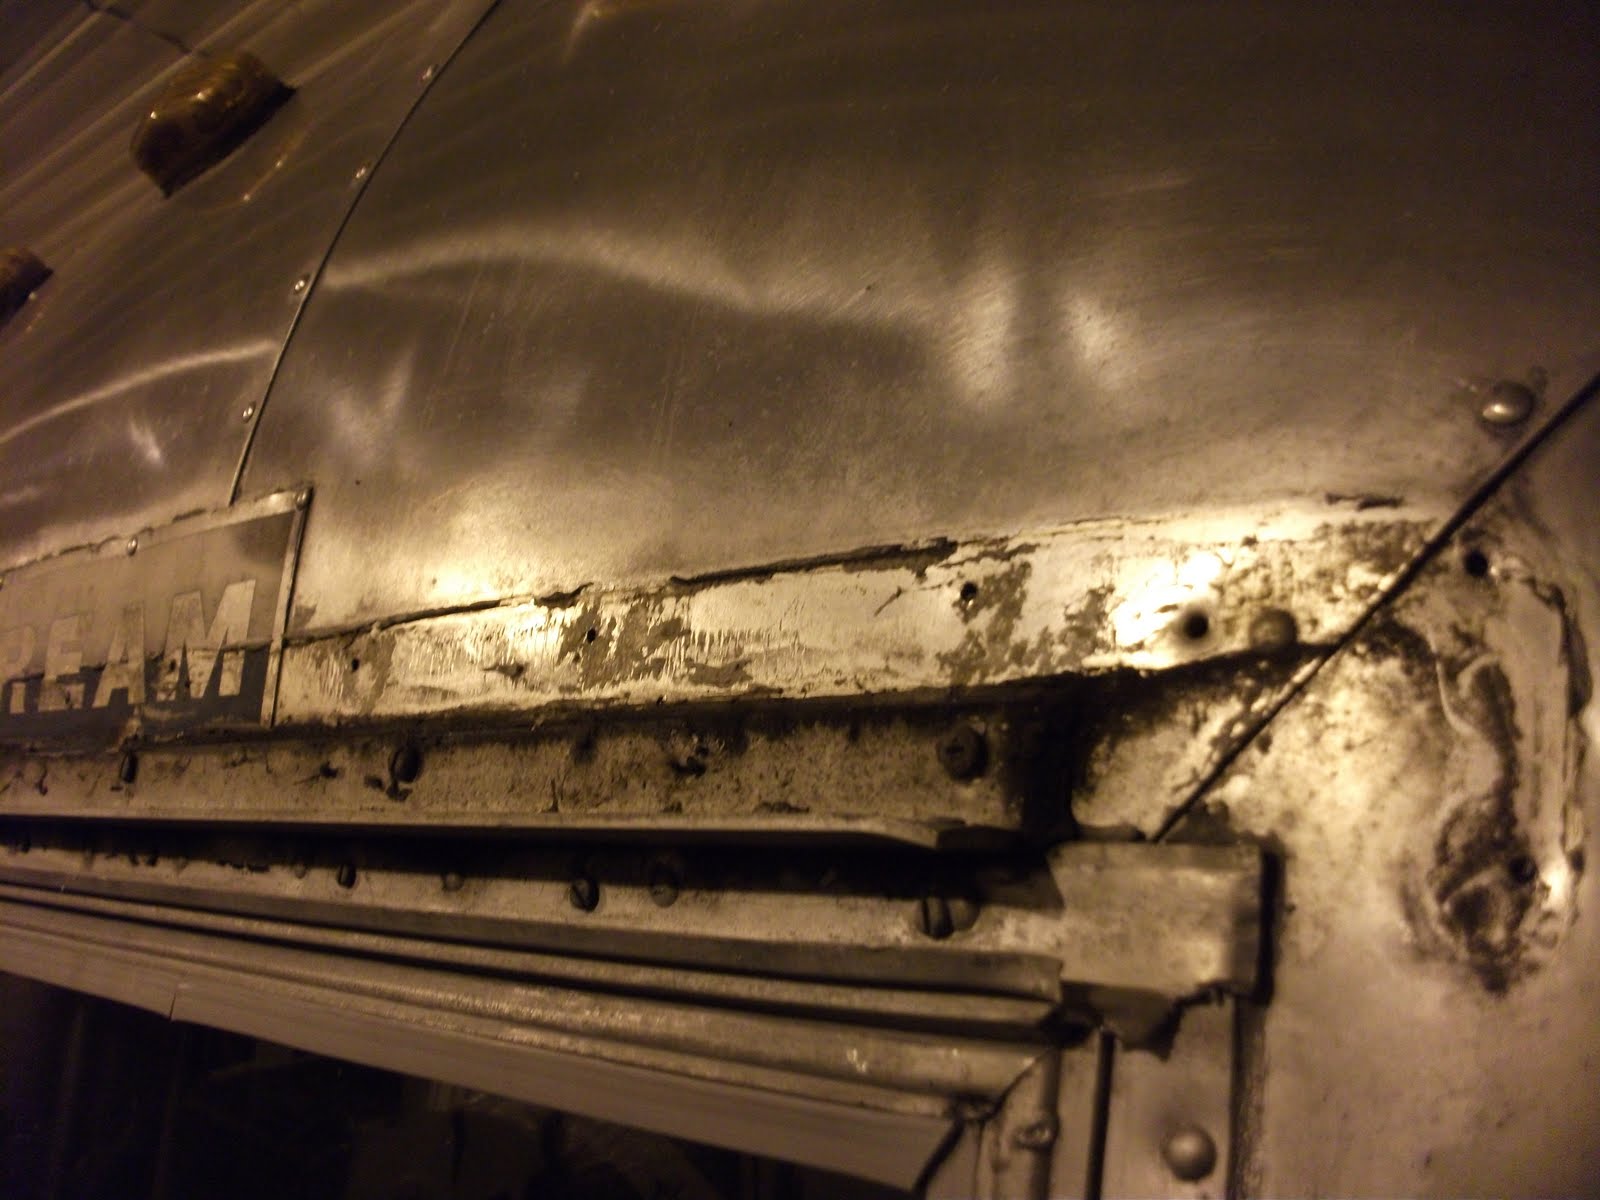
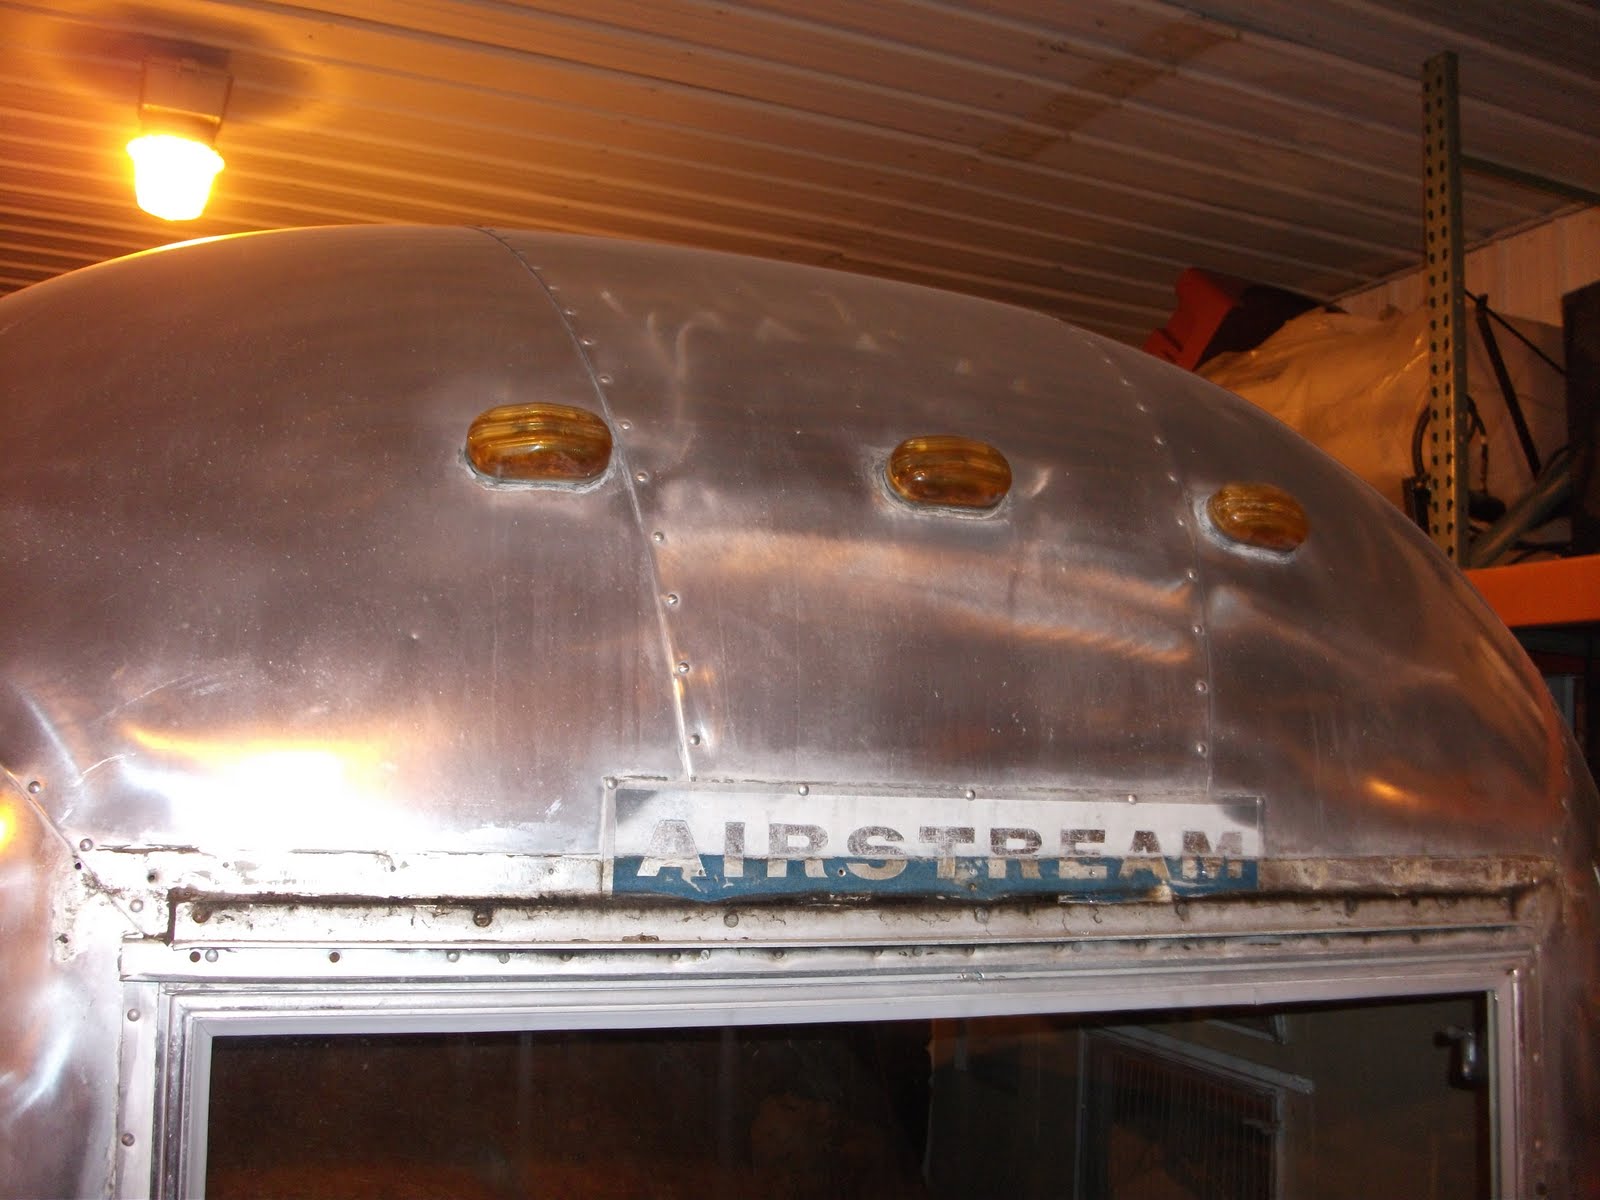
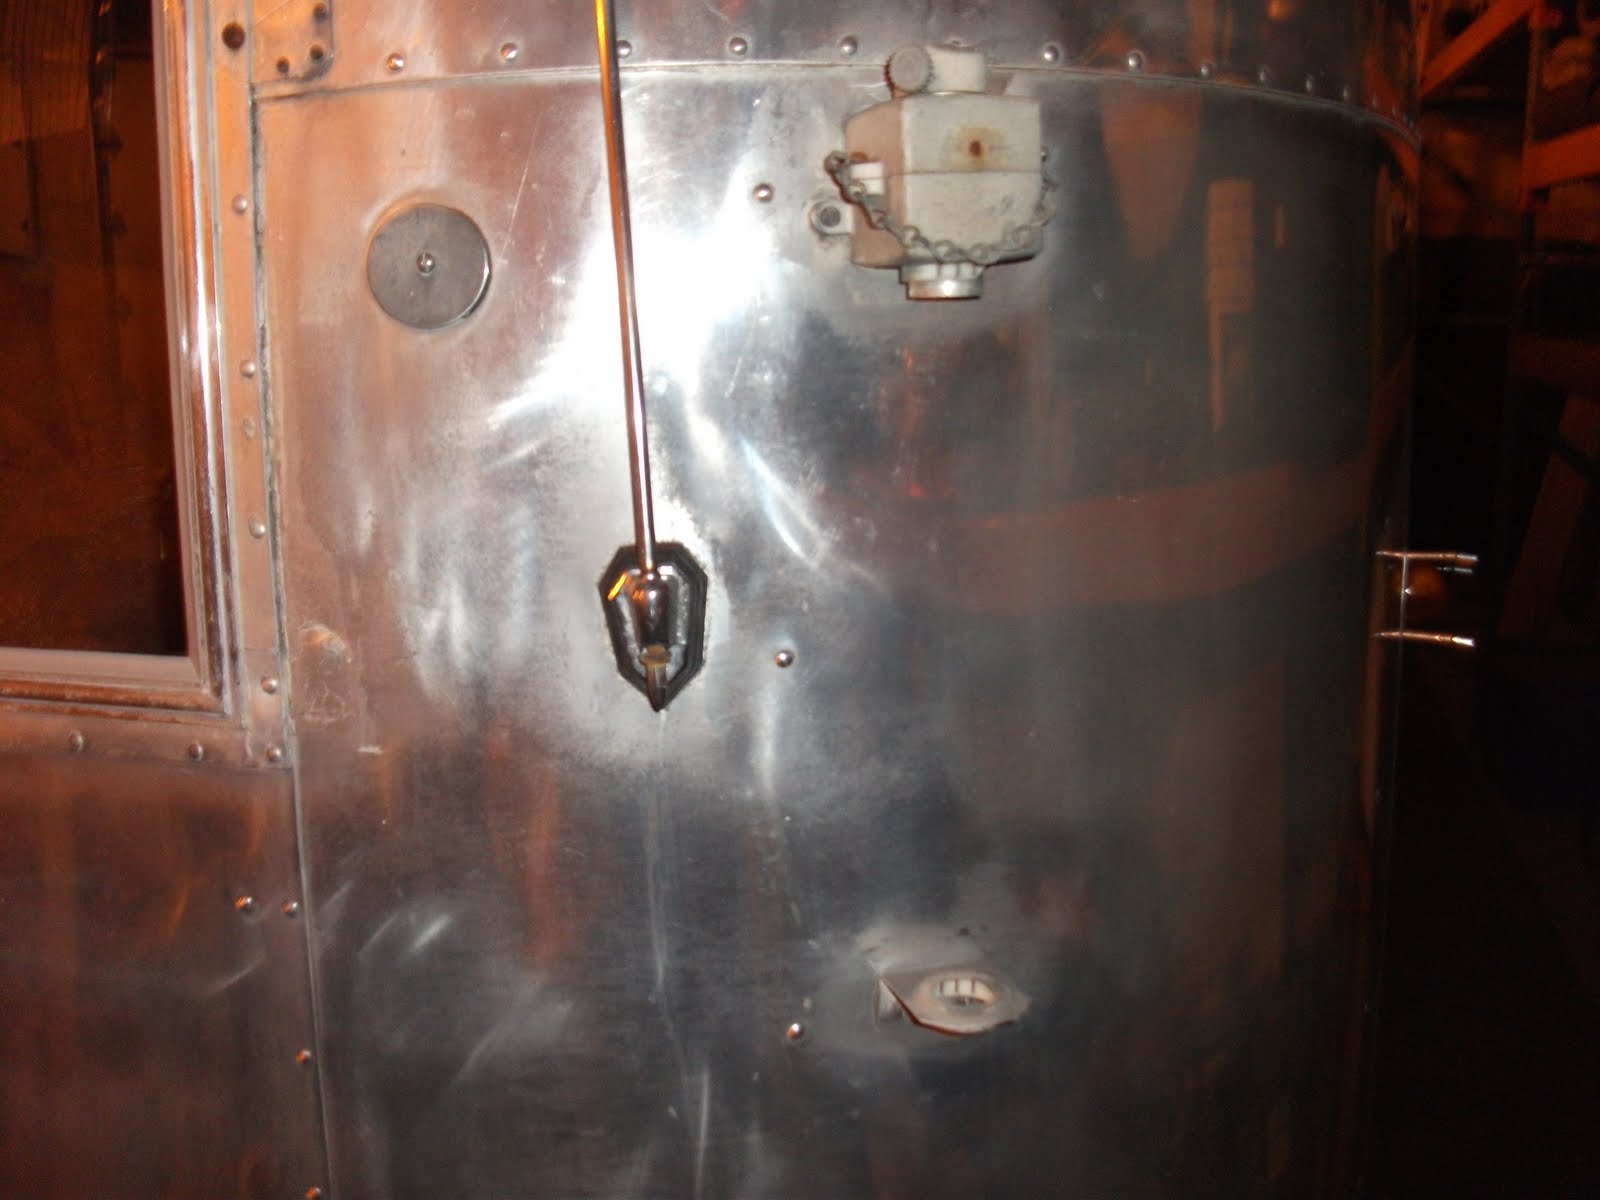
I have begun the process of replacing this panel. The old TV antenna, old Radio antenna, and who knows what other skin holes made replacing this panel a no brainer. That and the dent that is lower down than this picture shows. This panel is street side front.
First I have to remove the entire rub rail; Curbside to street side.
I also had to remove the spare tire carrier.
Removing the spare tire carrier held on with screws.
Rust marks the spot, or in this case, the cross.

I also removed the Banana Wrap now exposing the frame and old nasty insulation.
Now removing the rivets. I will hopefully finish this job next Saturday. I have the new aluminum ready to go, and will be glad to fully replace this panel! Until next time....

Monday, December 12, 2011

New Shop Ready to Go!

The following are pictures of Brad's and my new shop that we rented on 10/10/11. It is 35' wide by 60' long. Currently we have my 34' Excella 1990 (Big Girl), Brad's 26' Overlander 1957 (Holly) and my 22' Safari 1964 (May) in the shop. The site we rented last winter was closer to home, included heat, and had an industrial sized air compressor. This new shop is still way better for us, including larger space, we are the only tenant's (a huge plus), we are able to modify the interior to our liking (an even bigger plus), and the price is 32% less per month than what we paid for the smaller space last year. We do have to heat this space ourselves, but like last year's shop, electrical is included. The price is so right that we are planning to keep this shop year round, another major plus. And we really like the new landlord too.

Note in the above picture that we (mainly Brad) put Poly up across the entire ceiling. The cement block building is not insulated, but we were comfortable with an outside temps in the teens, and our propane heaters (2) fired up. We hope to be able to work comfortably inside except when the temps get too far below zero. Our landlord also provided the heavy duty shelving, and we are finishing these with recycled wood 2"x6" from Brad's real job.

Above: Holly on right with her new rear door configuration, May in the middle, and Big Girl on the left.

We added the tool hanger (rear left), and since this picture was taken, this four foot run way has become a storage area.

Note the electrical drop (orange end) at eye heigth.

Note to left of the electrical drop the air drop. Brad added Electrical and Air drops in 3-4 locations making it very easy to use power and air tools.

The natural light in this shot is with the 11' plus front door open. The building has the same sized door in the rear so we can drive straight through the building with Big Girl.

The above shot shows Brad adding circuits. We are lucky in that the panel was mostly empty, so we have added for power drops, and one for each air compressor. Coming up will be 30 amp service times two, and then we can run or test anything in the trailers times two trailers.

My first work on May after the building is ready; a brand new trailer tongue lift with wheel.

Note the propane heater working away. We now have two heaters. Not to worry, we have plenty of fresh air entering our space, with cracks in the block walls, and big gaps under the overhead doors.

This shot shows our one window to the outside. To that South Facing window we want to add one facing West for more natural light.

We added Fiberglass insulation around the rear overhead door. My compressor is ready to go in this pic, and Brad has now added his compressor to the mix since then.

Plenty of space to work, and also note the end caps stored in the corner.

Artsy shot #1.

Artsy shot #2

Artsy shot #3 with Ghost Brad.

Last Artsy shot with Ghost Brad in Red. We are basically done getting the building ready, and the trailer contents and tools are now where we need them. All activity will now be focused on the "girls". Until next time!

Wednesday, September 28, 2011

Stay Tuned!

Just a quick note to let you know to stay tuned to this Blog, as work should soon begin again on May! We lost our winter home we had last year, but we should be signing a new 6 month lease at a new location in the next week. The plan for this winter is to finish the exterior and tackle the floor and frame. I can't wait!

Wednesday, February 16, 2011

Exterior and Interior Work

I have not been spending as much time on May, at the same time that I have been buck riveting on weekends on Buddy Brad's Holly. This has actually been a blessing, as I have much going on in my life right now, so it has been great to just "show up and buck!" You can see the incredible work Brad has been doing by following his "I found the leak" posting here. Brad made sure I gave May her due this past Sunday, and we made some progress on the interior. Before I cover that, the picture above shows the new Airstream Nameplate, and the new Running Lights with the custom bezels are now bucked and fully installed on the rear. I am working on the front and it will also get all new running lights and new nameplate.


This past Sunday Brad and I dropped the interior ceiling aluminum, and then I removed the old insulation. Note the insulation is still in this picture just before removal.


The ceiling all taped and removed from the trailer. We took out the front window, and pulled out the ceiling. In this manner I can now have the ceiling stored underneath the trailer.


I shot looking rearward; ceiling is out, insulation is removed. Next up for removal is the front end cap, and the lower interior panels. I will soon have all of the old mice infested insulation out of the trailer! Then on the wiring, and new insulation. The main reason for getting the entire interior out is so I can buck rivet all the new items and fixes that I am doing to the exterior.


Repeat; another shot of the exterior rear that is completed.


Me testing new running lights.


Rear view of the lights test before we bucked them in.


Buddy Brad's Holly. He built 11 brand new segments, and the lower panel was 12' long, wrapping both sides of the front. He is doing incredible work. Bucking these in place has been a blast. You can tell he is in the Trades, look at the great scaffolding he had all set-up for me to work from. Turns out I run the bucking gun, Brad runs the bucking bar. We have a pretty good communications system worked out, and 98% of the rivets look great. We won't talk about the other 2%!


Holly (Left) and May in the shop we are renting this winter. Obviously this is before he refit Holly with new end cap segments. It gives yo a true sense of how much work Brad has done, and great work at that.


A shot of the front window and the mess I have to work with before it looks like the pictures of the rear end cap above.


Rear cleco'd but not yet bucked.


The PO messy window leak fix. We will fix it right this time, with no drip cap, and without the slag of Vulkem.


Note the drip cap ran right through the old nameplate. You can tell which half was in the sun and which half was not.


Until next time!


Wednesday, December 22, 2010

Installing Exterior Lights, Home Made Bezels & Window Gears

Finally back to getting some work done including this past Saturday and a couple of hours today. Can you guess which light above is 46 years old vs. which is brand new?


Below one of the side lights is Cleco'd in place. I am going to pull out the cleco's and polish around it before it gets buck riveted.


Below are the rear end cap lights, sitting on their home made bezels, ready for final buck riveting. I did order new Airstream Nameplates yesterday from Vintage Trailer Supply. I just do not like all the numerous holes in the old name plates after one of the former P. O.'s installed a drip cap across the old nameplate. May deserves better.


I also put in the new gears on the rear window. There is one on each side, and now the rear window works for the first time for me. It really is too much window (too big and heavy) for the gear design. As long as I am the only person that ever opens or shuts the windows on this trailer, the gears will last a long time. The first person to over crank a gear will break said gear. It is nice to see the rear window all complete and working, albeit a poor 1964 design.


I hope to get more work done outside of the actual holiday days. I want to get the new name plate in place, and then the rear is ready for buck riveting. Until next time!


-Tim


Wednesday, November 24, 2010

Rear End Cap Out!

Work is under way on May at her new winter home. She has been there all of November, but this coming weekend will be the first weekend that I get to work on her. All work to date has been done over a few week day nights. I convalesced from oral surgery one weekend, we had an 11" snowstorm the next weekend, and last weekend I was in New York City with my son. Even so, the picture above shows the rear end cap has been dropped. Underneath the insulation and mouse droppings were nasty! Yuk! Also found a surprise, one end cap panel has been replaced. I had no idea, but now that I look at the rivets from the outside, I can tell they are not buck rivets.
The rivets on the replaced panel appear to be pop rivets. They are shaved on the outside (no picture). Of course they are leaking. I will of course buck these.

I want to get all the buck riveting for the running lights and the replacement panel completed. Then I will insulate, and put the end cap back up. Buddy Brad is going to Europe for 10 days, so I will work on some other projects while he is gone, ready to start bucking upon his return. It sure is nice to be making progress again! Until next time!


Tuesday, October 26, 2010

2 1/2 Days Journey - A trip to P&S Trailer in Ohio

This is not about May, this is about a journey to drop off our 1990 34' Excella for winters work at P&S Trailer Service in Ohio. Thanks to buddy Brad for joining me on this trip, and all the planning we did on May and his '57 named Holly. Both these fine Vintage trailers will be side by side in a shop that Brad and I rented starting this coming November 1st. We spent our many hours on the way to and from P&S planning, sharing, changing, and planning again what we are going to do with and to our trailers. Brad had some significant changes that he brainstormed for his plans for Holly, and I look forward to seeing his updated drawings. A '57 front bedroom? It sounds great to me!


The above picture is just after we arrived and dropped the Excella off the hitch. P&S is also a working farm, so yes, it looks like a farm house in the background. The 2500 Duramax/Allison Chevy was flawless as always.


A shot from the road looking at the farm. Check out all the shinning aluminum! There were also another 4 trailers in the buildings under going work at present.


A closer view of trailers and one of the "barns". Steve at P&S could not have been more hospitable to us when we arrived. Thanks to him for taking about an hour to show us around; ON SATURDAY no less!


More trailers awaiting various repairs, or possible sale. P&S also sells pre-owned Airstreams.


I of course have a soft spot for these old Shasta's. Readers of this blog will note my earlier coverage of the first trailer I camped in about 1964; you guessed it, a '59 Shasta.


1578 miles (round trip), 2.5 days, 6 states (should have been 5, but Michigan got thrown in for good measure, by accident), 13.4 MPG with the trailer on the way to Ohio, and 18.4 MPG without the trailer on the way back to Minnesota, and we managed to talk, plan and laugh the whole time. Thanks again to Brad for joining me on this trip. As for the Excella, I can't wait to see her again next Spring, with new clear coat, awnings, Fantastic Fans, new power supply, new tires, and a extensive but minor list of other items.


So May will move into her 6 month "winter" shop on November 1st. I am way pumped up and ready to get to work! Until next time.....