Wednesday, May 5, 2010

Back to the outside

I moved May outside again on the second to last day of March. After leaving the winter location that I had been renting since December ('09), she spent a couple of nights at our house, and I was able to give her a much needed bath. On April 2nd she was back at her summer home outdoors.


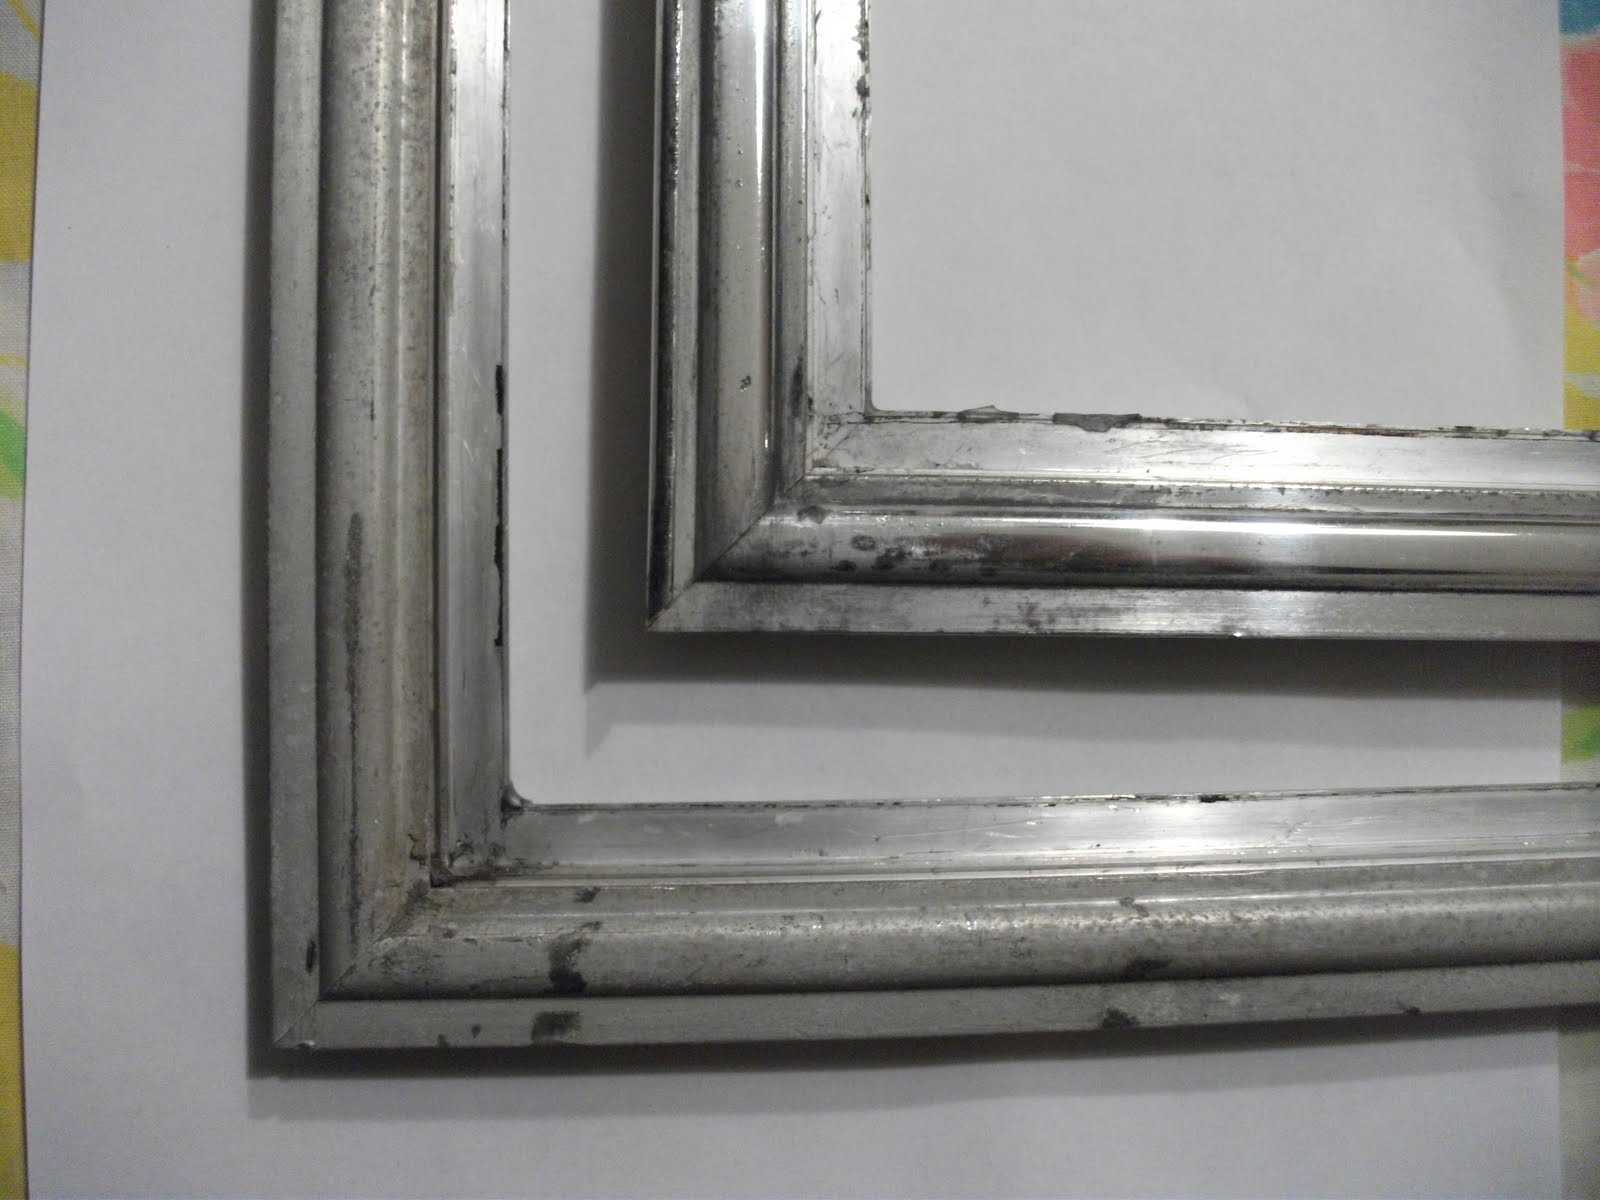
I have not been able to get too much work done since the move outside, but last weekend I did manage to take on the final stages of fabrication for the rear running lights. I am installing the tear drop lights that would have been the factory option in '64. I could not just install the lights, as a PO had installed oblong running lights, and this left screw holes wider than what the tear drop light could cover. Airstream installed the wiring even when the lights were not originally installed at the factory, and that is what happened with May, with the PO installing oblong running lights (my guess in the 70's). My solution is the aluminum "bezel" that I custom cut to match the shape of the teardrops. You can see what the pre-rivet completion looks like above. Thanks to buddy Dave who helped me fabricate and sand the edges on his belt sander.


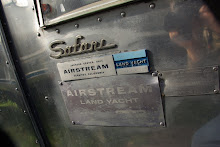
I also tackled the mess under the rear drip cap that I removed. Please note that a heat gun, Acetone and Mineral Spirits are your friends. The drip cap was not original to the trailer, and the PO had drilled right through the Airstream nameplate. I had to contend with really thick Vulkem underneath the cap, clear coat that had not been removed, and then I polished it all. I also realized that I did not have the correct sized pop rivets for the nameplate, so they are now ordered, and on their way from Vintage Trailer supply. I will also plug the holes from the drip cap with stainless pop rivets (see below).


The below picture is taking a stepped back wider view of what I am working with. All three rear running lights will have bezels around them, and I will also do same on May's front. The aluminum tape covered the holes through the winter. Although the name plate is missing from this picture, it is ready to be installed again, just waiting for the aforementioned rivets.


We have a cold front that came in last evening, and we actually had snow just north of here. The sun is out, and the temps today will be in the 50's, so I am going to spend some hours polishing. Until next time!


Sunday, March 28, 2010

Lights and Windows-Ready to Move Again

Although I am unpublished these past 5 weekends, I can assure you I worked half of them, with some weekday window rebuilding time thrown in for good measure. I lost two weekends to the annual winter trip to Cozumel, Mexico (hey wait, what does that have to do with anything?) My main goal since late February was to get the turn signal, brake lights, and trailer brakes up and running. I also wanted to get the front and back windows rebuilt and installed, so my shell was relatively intact again, and ready for the move out doors again in early April. Well, this is no April Fool's joke, I am all done! So although the following pictures work backwards, here are the shots that help tell the story of this past month plus.. Note in the picture above the rear LED turn/stop lights installed. I will cover the lighting in a later post. Below is the front window from the inside, new glass installed, new cranks installed, looking in the end like the easy task it was not.


Here is a closer up view of the new cranks installed from Vintage Trailer. I also installed new nylon guides as well.


Exterior of the front window, partially open using the new cranks. I installed new custom cut tempered glass (1/8"). Glass RULES over Plexiglas! I am very glad Frank of Frank's Trailer works made a comment to me about glass over Plexi, and I am very happy with the final results.


This is the inside corner of the front window frame AFTER I had ground out the aluminum weld or slag that ran into the corners where the glass needs to lay flat. You see, I had the window all rebuilt the first time, and during installation, the frame broke apart in one corner. Four letter words still hover in the building where I worked on May this winter! The window frames had been rebuilt and welded at some point by a PO, but the welding was sub par. So back out the window comes, I pulled out all the glazing that was a major b&*$% to get in, and then found a welder. He used the aluminum weld that was already there, but along with getting much better welds into the joints, I ended up with a grinding project. Again, the below is after I ground out the slag, and you can see that I lost some of the corner as a result of the hot weld. I can assure you the frame is now very solid.


The below is what I started with BEFORE I ground out the corner slag from frames. I used a Dremel and many grinding wheels! I actually think this shot is from the back of the frame, and you can see the strength of the weld. The front window was also bigger than the rear, and I can see and understand the design flaw in the original corner strength of this front window frame.


The below is the rear Airstream Name Plate after I cleaned and re-painted. I learned a trick or two that will make the next one go faster. This is the rear name plate, clecoed and ready to be riveted again.


From polishing the window frames while at my kitchen table, the tools of the trade.


The rear Airstream sign un-installed, as well as the non-factory extra water drip cap. What a vulkum mess!


The rear and front window frames. Once polished, one not. This is BEFORE I broke the front window frame, so the inside corners on both still look original. Go back again to the frame above that I had to grind after welding, and you'll see that I list some corner material, but no biggy.


A close up of the rear sign and window BEFORE I did any work on it. Scroll back up to see the alsmost finished results. Hint, it is the picture with the BLUE Airstream Name Plate ;-)


So May will be on the move again to here summer home. Stay tuned for the exterior work that I will be doing the next 6 months. Until next time!


Monday, February 22, 2010

Pop Rivets and Screws

Sunday was spent buttoning up some loose ends. The picture above is the furnace opening now closed up with a sheet of aluminum pop riveted and caulked.

Below is the water heater shroud screwed back in place. I used 3/4" RV clay tape between the trailer body and shroud, as the shroud does not lay completely flush against the trailer, so the clay tape fills the void. Later this year when I pull out the front and rear window frames to re-caulk them, I will also use the clay tape. Water does not penetrate it, and it will be easier to finish caulk the seam between window frame and trailer. The clay tape that I took off the shroud from 1964 was still pliable. The floor around the water heater is in really good shape, so the clay tape stood up all those years against the elements, with near zero water leaks.


Below is the new Kitchen Vent cover installed. In comparison I am holding the old brittle, broken and faded original cover. The new vent cover is a little longer, but it still fits in, and I think it looks great. I copied all the original screw holes except the bottom two, accounting for the length difference of the new cover. This vent cover came from Vintage Trailer Supply.


I only placed a small amount of Vulkem (TemPro 635) across the top of the vent for now. I will be removing this vent this summer to polish around it, and then I'll permanently install the vent again when the polishing is done. In the picture below the new stainless screws also stand out. I am using stainless where ever I can to avoid corroded or rusty screws later on.


I also ordered the glass for the front and back windows last Friday. Hopefully it will come in this week. More on that when I install them.


The truck to trailer wiring issue that I have been having since last fall is about to drive me nuts. I wasted the better part of my Sunday morning work hours trying to get the existing wiring to work with the newly installed 7 pin connector. I obviously have an incorrect ground somewhere in the old wiring, but I am going to put the old wiring issue on hold for now. When I pull up the floor and interior walls, I should be visually able to find the problem. For now I am going to run three temporary 14 gauge wires for my turn signals and running lights, and I will hook up my new LED turn/stop lights. I am going to bypass the trailer wiring for now entirely. This weekend I will see if the old brake wiring is good, as I really want to use the brand new brakes that came with the new axle that I had Hart RV install last fall. With the turn signals and possibly the brakes, I will be good to go for the next few months.
Well, I hope to be at it again this weekend. Until next time! -Tim


Monday, February 15, 2010

Plugging some holes, creating others.

Today's blog is a picture based update of the progress I made this past Saturday and Monday. The above picture was in advance of taking out the back window. Note the non-Airstream approved drip cap that cuts off the bottom 1/4 of the nameplate.


The below picture is after I have taken out the back window, removed the drip cap, and then I was attempting to pull off the nameplate. I need to get a heat gun before I proceed any further. I will work on new window glass and gaskets this week. Then I can re-install with new openers.


Below are the parts from the water heater shroud. I decided that I would reuse and store these pieces back in the opening from which they came. Here I had laid out the parts so that I could measure for a small piece of aluminum to block the two holes that allow air and access to the water heater from the outside.


The below shows the shroud installed again, with the new aluminum piece that will covers the access holes. The shroud is held temporarily in with clecos.


From the inside of the shroud the access holes on the left side are more obvious.


A close up of the drip cap that I removed, pre-removal.


The furnace hole is now covered with a new piece of aluminum. I worked on most of this the weekend before, but I finished it this past weekend.


I am now in the process of putting new glass and cleaning up the rear and front window frames. My goal is to be read for installation of the windows again this coming weekend, fixed of course. Brad and I are also headed to Doug's on Staurday to bring home "Holly G", the '57 Brad acquired from Doug a couple of weeks ago. So I plan to work on May on Sunday. Until next time!


Tuesday, February 9, 2010

Progress, slow but sure.


I managed to get time to work on May this past Saturday and Sunday. I spent almost all of Saturday rebuilding one of the mystery Hehr side windows. I covered these mystery side windows on the Airstream Forum linked here. I appreciate that Mike my winter home landlord gave me a hand. His carpentry background was very helpful avoiding a couple of challenges that I ran into. After multiple trial and error(s), I got the old window gear out and replaced, and the window aligned properly. It now shuts all the way! I bought a new window gear for each of these 5 side windows, and although they all do not need an immediate rebuild, I at least know now how to complete the task. I believe I have one other window to immediately address, so I will address that one next weekend. The rest can wait for when/if the window gear ever fails. Guaranteed that I am replacing the "clutch head screws" with "Phillip's head" screws as I rebuild them. These little buggers set me back time, sweat, money, and four letter words. I also replaced the nylon window slides, which were beyond 46 year old hard and/or broken. I am very glad to have found the parts necessary to fix these side windows. For now one fixed window means I no longer have it hanging open to the elements at all times.

Sunday I spent the day stripping out the three layers of floor tile, and one layer sub-floor that was added by the last PO. I found the original tile, overlay red brick tile from the 70's., a thin plywood subfloor, and finally the tile added just a couple of years ago. This was not a difficult task, but it was more time consuming than I had would have thought. I now have the floor stripped down to the original plywood, at least what is left of it. I estimate 15-20% of the plywood is gone (rotted), mainly in the front, the rear, and under where the refrigerator goes on the streetside. I now have really good ideas of where I have leaks in the shell. I also worked some aluminum on Sunday, fabricating a "temporary" cover for the furnace hole. I say "temporary", but it may need to last a year or more. I also need to fabricate a cover for the water heater hole. Both of these covers will stay in place past the floor replacement, in advance of a new furnace and new water heater.


I should be working again on May this Saturday and upcoming Monday. Our company takes off President's Day, so I get an extra play day! Until next time. -Tim


New Window gear installed


Window now shuts all the way.

Bare Floor looking towards the rear.
Looking forward


Sunday, January 31, 2010

Bare floors, almost bare interior, and a '57 from Wisconsin

After missing all of last weekend due to other activities, I got back to work this weekend on May. The time that I spent included Friday after work until almost 10 PM, a quick stop on Saturday to pick up the fiberglass bathroom and bring it home, and I finished with a full shift today. The interior to the floors is almost completely removed. I have just a very few misc items remaining, and the interior of May will be bare. I am soon into "construction" mode, and look forward to working on the exterior lights, rebuilding windows, closing up the holes where the water heater and furnace where removed, generally stopping water leaks. First back to what I accomplished and found this weekend.


Looking through the rear entry door you can see the toilet is removed.


This shot is with the Fiberglass Tub, shower, sink removed. Thanks for helping me get it through the trailer door and home Brad!


With the tub and toilet kick plate removed, 1 of 2 waste pipes removed, and a quick vacuum reveals the floor and expected floor damage. It is actually in better shape than I thought. The floor is 100% being replaced regardless.
As I suspected, the black tank is gone. You can see rectangular floor replacement around the waste pipes. The black and grey water are a straight shot out the exterior waste valve, there is no holding tank at all.
Now I have removed most of the retangular floor board that was replaced when the bathroom was modified to remove the black tank, and send the waste straight out the rear waste valve.
I am happy to say that with all the rear floor rot, the frame that I can see in the rear is in incredibly great shape. I also have zero evidence of any rear end separation. In the back through a rotten hole in the floor I measured the frame to the bottom of the wall. It is exactly 3/4". I am extremely pleased that what I am finding under the floor so far is in pretty good shape. Even the belly pan in the rear is fully intact, so it will make a good template for its replacement.


Finally I am happy to report that there is an additional Vintage Airstream owner in our mix; buddy Brad. He is now the proud owner of a 1957 Cruiser Overlander. I helped match his desire for a vintage with Doug's extra trailer. I say extra in that Doug originally planned to use the '57 as a parts trailer for his '54. You can read Doug's blog here, and you can also read his floor replacement Airforum thread here. Thankfully Doug could not bring himself to part out the '57, and after an attempt to sell the wounded gal last year, a couple of calls and a Saturday road trip, and now Brad has Aluminitis! Congratulations Brad (& Jennifer)!


Sunday, January 17, 2010

Another link to May's past.


I spent the better part of Saturday the 9th freeing the tub/shower/sink from May's clutches. Several knowledgeable people have said it would be a "bear" to get out, and it was. I was beat by the end of that day; wrestling with the hulk, finding hidden fasteners, cutting waste lines, wrestling some more. It is all loose and free now! In the near future I will have to figure out how to get this mass of fiberglass out the front door. I know it will come out, even though it is 4" or so wider than the door, as all Airstream parts are designed to go through the front door. It should be interesting angles that's required to do so. Yesterday I began to neatly create bundles of all of the interior wood parts with plastic wrap, and loaded them in my truck for transportation home. This included walls, interior doors, frames, etc. They will be stored in my basement until they are needed again as templates. About the only wood items that I will not replace brand new are the overhead storage locker frames. They will be refaced and renewed, but the frames themselves are in pretty good shape. There really was no other wood to save other than for templates. All of the wood is delaminated, especially where it was in contact with the floor. I also took out the toilet and water heater yesterday. Even though I had my camera, I forgot to take a picture of it all. But I do have one picture to share taken on New Year's Eve; the little Minnesota License Plate I found under what would be the battery mount in the rear. I will one day try to research to see how May got from the original 60's California owners to the Minnesota 70's owners who had her when this little license plate was on her tail. Just one other link to her traveling past. Until next time!